With this foolproof recipe, you can create the ultimate soft and fluffy sourdough sandwich bread. This homemade bread combines tangy sourdough flavor with a tender crumb that will impress. It is ideal for sandwiches, toast, or as a foundation for your preferred spreads.
Introduction
Sourdough sandwich bread combines the tangy flavour of traditional sourdough with a soft, fluffy texture that is perfect for sandwiches. Whether you’re an experienced baker or a novice, this recipe provides step-by-step guidance to help you craft a delicious homemade loaf. This soft sourdough loaf is a game-changer in home baking, ideal for hearty sandwiches or morning toast.
Discover more recipes: Sourdough Discard Crackers | Sourdough Sandwich Bread
Preparation and Cooking Details
- Prep Time: 30 minutes
- Rest Time: 6-12 hours (includes bulk fermentation and proofing)
- Cook Time: 35 minutes
- Total Time: ~11 hours
- Servings: 10-12 slices
- Difficulty Level: Intermediate
Table of Contents
What Makes Sourdough Sandwich Bread Special?
Sourdough sandwich bread is different from your average loaf. Here’s why it stands out:
- Unique Flavor: The natural fermentation process gives sourdough its signature tangy taste.
- Soft Texture: Unlike crusty artisan sourdough, this loaf is designed to be smooth and pliable, making it perfect for sandwiches.
- Health Benefits: Sourdough is easier on the stomach than regular bread, as fermentation breaks down gluten and usually contains fewer preservatives and additives.
- Versatility: From PB&Js to gourmet grilled cheese, this bread is a versatile base for countless recipes.
Ingredients for Soft Sourdough Sandwich Bread
- 500g bread flour: Strong white flour is ideal, but you can substitute up to 20% whole wheat flour for added flavour.
- 100g active sourdough starter: Ensure it’s bubbly and fed for the best results.
- 270ml warm water: Helps with hydration and dough consistency.
- 50g unsalted butter: Softened for a rich and tender crumb.
- 1 tsp salt: Enhances flavour and balances the dough.
- 1 tbsp sugar or honey (optional): Adds a slight sweetness that complements the tanginess.

Step-by-Step Instructions for Making Sourdough Sandwich Bread
Mix the Dough
Mix the sourdough starter, warm water, sugar and flour in a big bowl. Stir it all up until you get a shaggy dough.
Autolyse
Put a cover on the bowl and let the dough sit for 30 minutes. This helps the flour soak up the water, making the dough easier to handle.
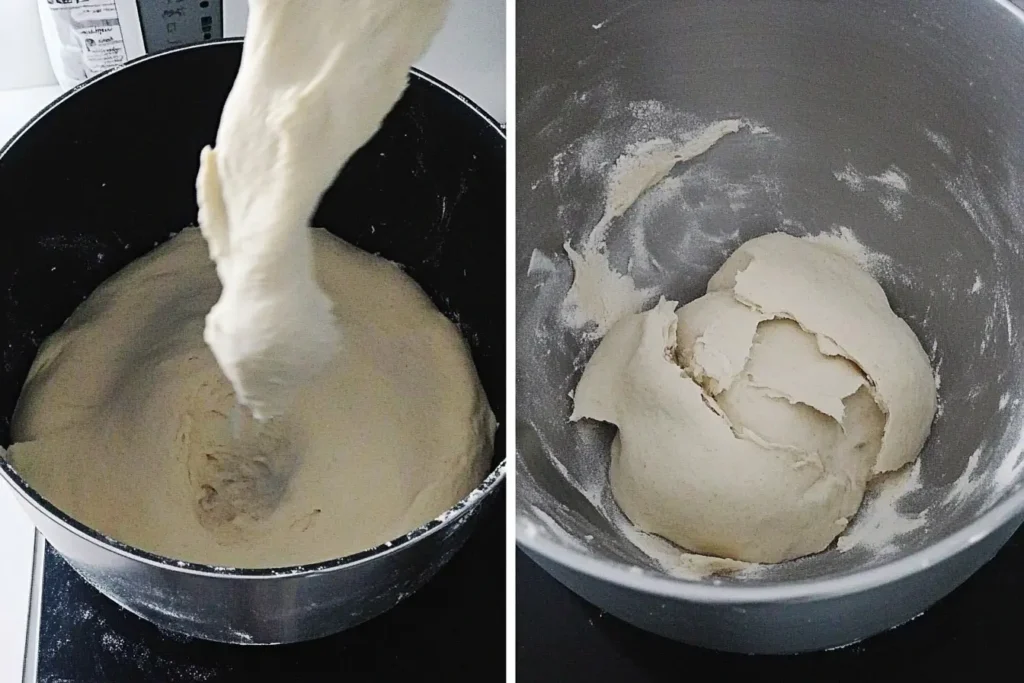
Add Salt and Butter
Mix in the salt and softened butter, then knead the dough until everything’s blended and it feels smooth and stretchy.

Bulk Fermentation
There are two main approaches to bulk fermentation, and you can choose the one that best suits your schedule and preferences:
Active fermentation with stretch-and-folds: Perform 2 to 3 sets of stretch-and-folds every 30 minutes for 2 to 3 hours. This technique strengthens the gluten structure, enhances the dough’s elasticity, and produces an even crumb with good volume.
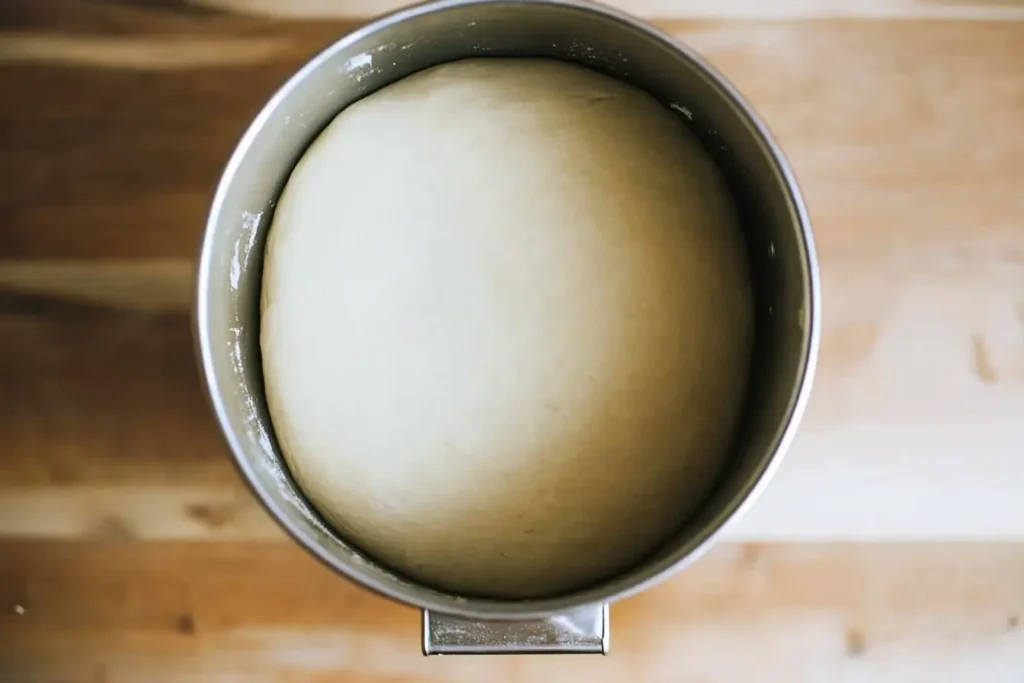
Passive fermentation without folding: If you prefer a more straightforward method, let the dough rest undisturbed at room temperature for 6 to 12 hours, depending on the ambient temperature. This approach relies on time to develop flavor while requiring minimal intervention.
Both methods are effective, but fermentation with stretch-and-folds gives you better control over the dough’s structure and development. The no-fold method is ideal for busier schedules. Choose the one that works best for you!
Shape the Loaf
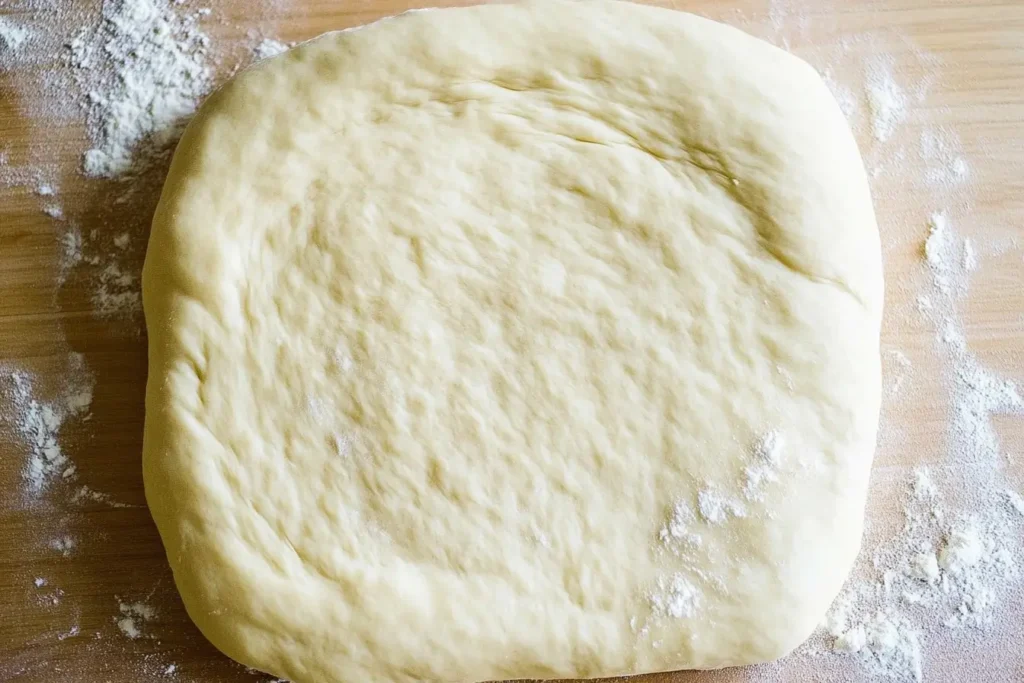
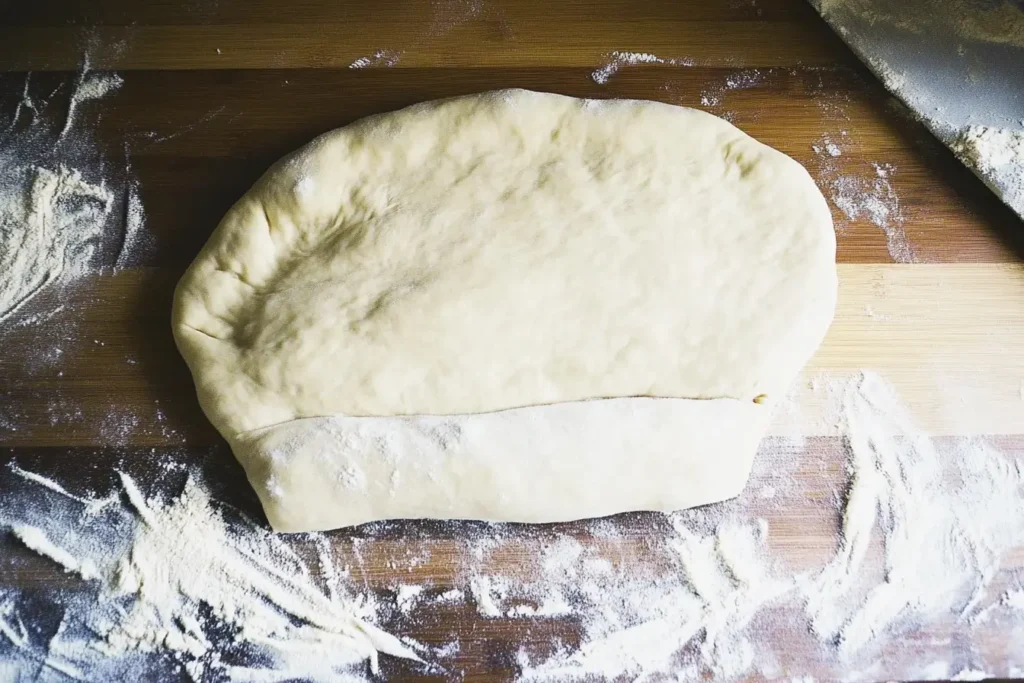
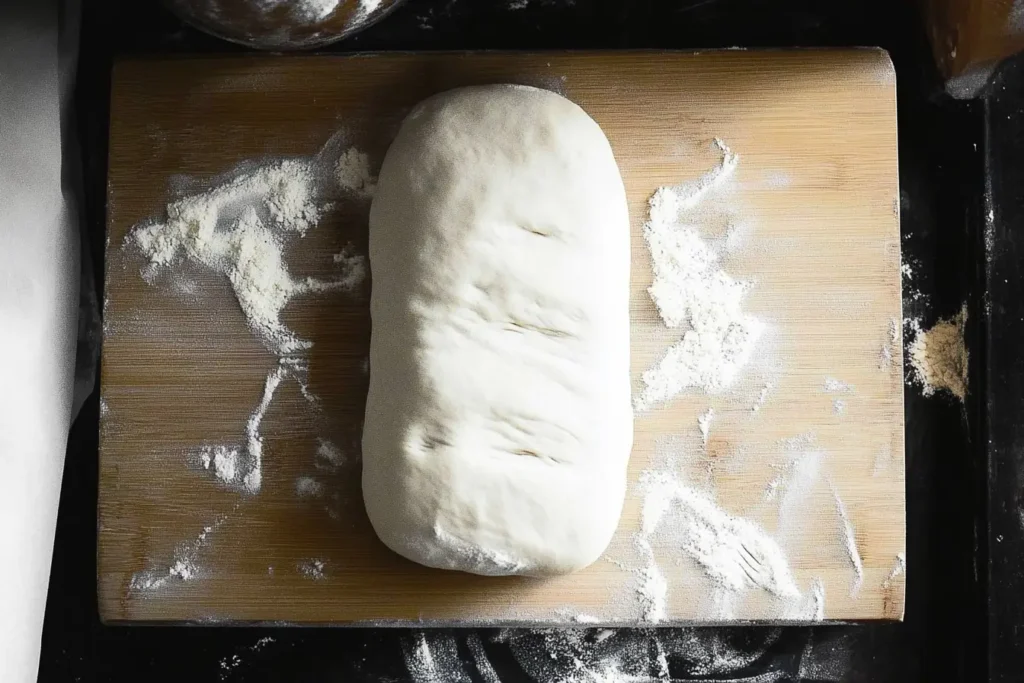
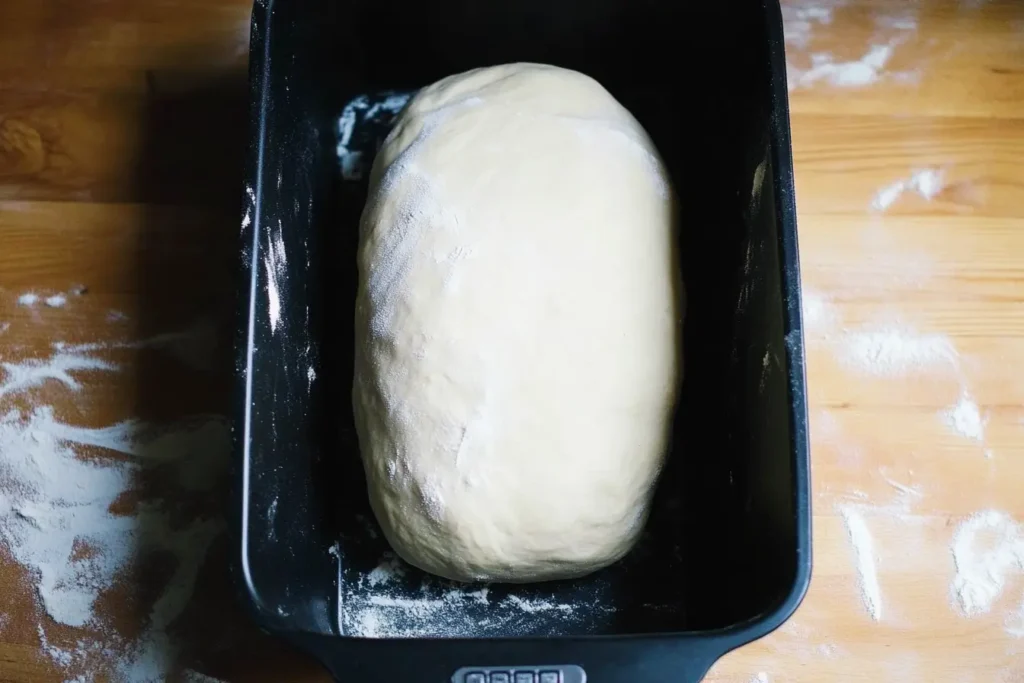
Put the dough on a floured surface, shape it into a log, and pop it into a greased loaf pan.
Final Proof
Once the dough is shaped and placed in a greased loaf pan, allow it to rise at room temperature until it reaches approximately double its original size or is just below the rim of the pan. The time required for this step varies based on the room temperature, generally ranging from 1 to 2 hours. Be mindful not to let the dough rise too much, as this can compromise the bread’s final texture and structure. To ensure the surface remains moist, cover the pan loosely with either plastic wrap or a damp cloth.

Bake
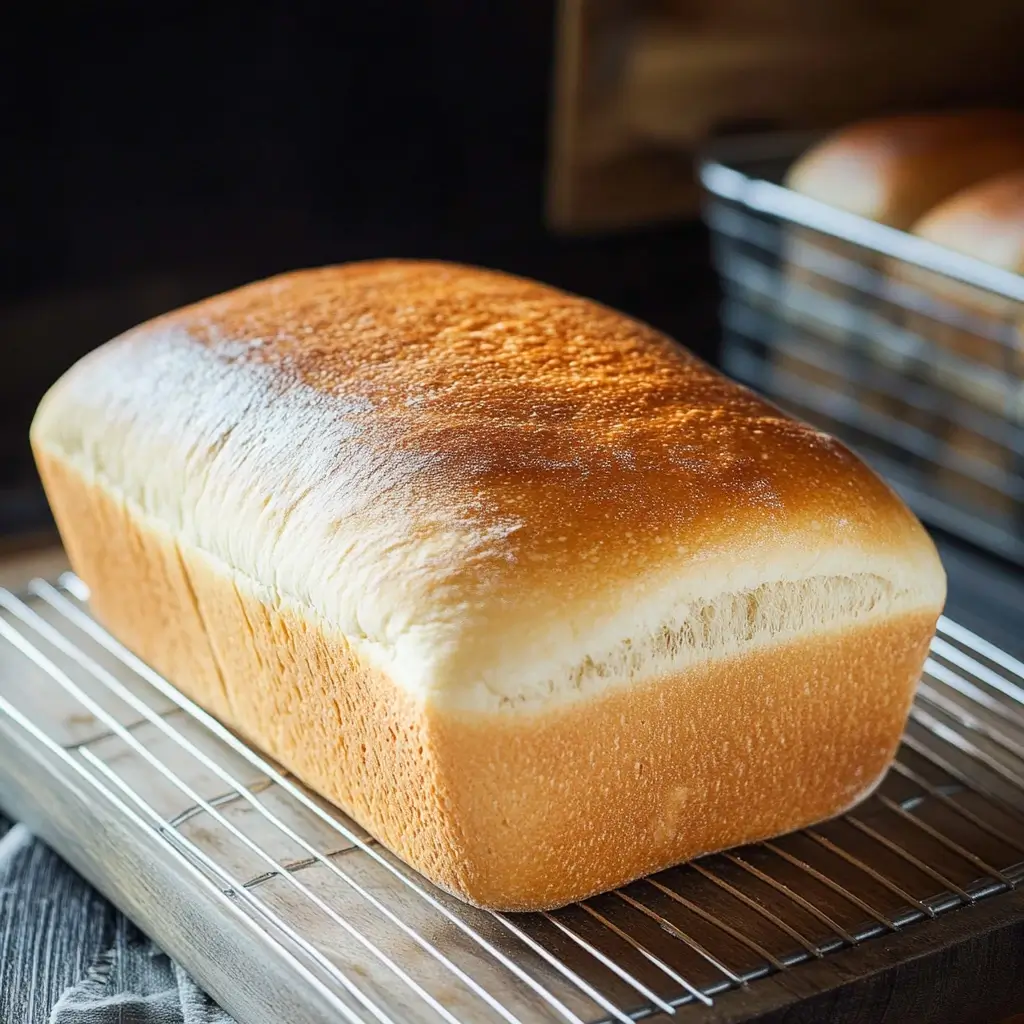
The first step is to preheat your oven to 375°F (190°C), ensuring it reaches the correct temperature before baking begins. Place the loaf inside and bake for 30–35 minutes. The bread is done when the top turns a rich golden brown, and tapping the crust produces a hollow sound, indicating it’s fully baked.
Cool
Once the bread is finished baking, gently remove it from the pan and transfer it to a wire rack. Let it cool completely to ensure the texture sets properly before slicing into it.
Tips for Perfect Sourdough Sandwich Loaf
- Monitor Fermentation: Over-proofing can lead to a dense loaf. The dough should be slightly domed and spring back slowly when pressed.
- Control Hydration: Adjust the water quantity if the dough feels too sticky or dry.
- Use Steam: Place a small tray of water in the oven during the first 10 minutes of baking to create steam. This encourages the oven to spring and soften the crust.
- Experiment with Add-ins: Add seeds, herbs, or cheese for a personalized twist.
Common Mistakes to Avoid
- Dense Loaf :Ensure your starter is active and bubbly. A strong starter can result in a good rise.
- Hard Crust: For a softer crust, brush the loaf with melted butter immediately after baking.
- Over-proofing: Keep an eye on the dough during proofing. It should double in size but not collapse when touched.
Nutritional Information (Per Slice)
| Nutrient | Amount |
| Calories | 150 kcal |
| Carbohydrates | 27g |
| Protein | 5g |
| Fat | 3g |
| Fiber | 1g |
| Sodium | 200mg |
Conclusion
Baking your sourdough sandwich bread is a rewarding experience that brings bakery-quality bread into your home. This loaf will quickly become a family favourite with its tangy flavour, soft texture, and versatility. Try this recipe and share your results in the comments below—we’d love to see your creations!

Soft Sourdough Sandwich Bread Recipe: A Step-by-Step Guide
Ingredients
- 500 g bread flour: Strong white flour is ideal but you can substitute up to 20% whole wheat flour for added flavour.
- 100 g active sourdough starter: Ensure it’s bubbly and fed for the best results.
- 270 ml warm water: Helps with hydration and dough consistency.
- 50 g unsalted butter: Softened for a rich and tender crumb.
- 1 tsp salt: Enhances flavour and balances the dough.
- 1 tbsp sugar or honey optional: Adds a slight sweetness that complements the tanginess.
Instructions
- Mix the sourdough starter, warm water, sugar and flour in a big bowl. Stir it all up until you get a shaggy dough.
- Put a cover on the bowl and let the dough sit for 30 minutes. This helps the flour soak up the water, making the dough easier to handle.
- Add Salt and Butter: Mix in the salt and softened butter, then knead the dough until everything's blended and it feels smooth and stretchy.
- There are two main approaches to bulk fermentation, and you can choose the one that best suits your schedule and preferences:
- Active fermentation with stretch-and-folds: Perform 2 to 3 sets of stretch-and-folds every 30 minutes for 2 to 3 hours. This technique strengthens the gluten structure, enhances the dough’s elasticity, and produces an even crumb with good volume.
- Passive fermentation without folding: If you prefer a more straightforward method, let the dough rest undisturbed at room temperature for 6 to 12 hours, depending on the ambient temperature. This approach relies on time to develop flavor while requiring minimal intervention.
- Both methods are effective, but fermentation with stretch-and-folds gives you better control over the dough’s structure and development. The no-fold method is ideal for busier schedules. Choose the one that works best for you!
- Put the dough on a floured surface, shape it into a log, and pop it into a greased loaf pan.
- Once the dough is shaped and placed in a greased loaf pan, allow it to rise at room temperature until it reaches approximately double its original size or is just below the rim of the pan. The time required for this step varies based on the room temperature, generally ranging from 1 to 2 hours. Be mindful not to let the dough rise too much, as this can compromise the bread’s final texture and structure. To ensure the surface remains moist, cover the pan loosely with either plastic wrap or a damp cloth.
- The first step is to preheat your oven to 375°F (190°C), ensuring it reaches the correct temperature before baking begins. Place the loaf inside and bake for 30–35 minutes. The bread is done when the top turns a rich golden brown, and tapping the crust produces a hollow sound, indicating it’s fully baked.
- Once the bread is finished baking, gently remove it from the pan and transfer it to a wire rack. Let it cool completely to ensure the texture sets properly before slicing into it.
Notes
Tips for Perfect Sourdough Sandwich Loaf
Monitor Fermentation: Over-proofing can lead to a dense loaf. The dough should be slightly domed and spring back slowly when pressed.
Control Hydration: Adjust the water quantity if the dough feels too sticky or dry.
Use Steam: Place a small tray of water in the oven during the first 10 minutes of baking to create steam. This encourages the oven to spring and soften the crust.
Experiment with Add-ins: Add seeds, herbs, or cheese for a personalized twist.
Common Mistakes to Avoid
Dense Loaf :Ensure your starter is active and bubbly. A strong starter can result in a good rise. Hard Crust: For a softer crust, brush the loaf with melted butter immediately after baking. Over-proofing: Keep an eye on the dough during proofing. It should double in size but not collapse when touched.FAQ about Sourdough Sandwich Bread
1. Can I swap white bread flour with whole wheat flour?
Yes, you can substitute up to 20-30% of the bread flour with whole wheat flour. However, since whole wheat flour absorbs more water, hydration should be adjusted accordingly.
2. How do I know if my sourdough starter is ready?
Your starter is ready when it’s bubbly, has doubled in size, and passes the “float test” (a small amount floats in water).
3. Can I skip the overnight proofing?
Rising overnight develops flavour and texture, but if you’re in a hurry, let the dough sit at room temperature for about 3 to 4 hours, giving it enough time to expand and double in size.
4. How should I store sourdough sandwich bread?
Keep the loaf at room temperature in a sealed bag or bread box, and it’ll stay good for about three days. For extended storage, slice and freeze the bread, then toast slices as needed.
5. What can I do with leftover sourdough sandwich bread?
Leftover bread can be used for French toast, croutons, breadcrumbs, or even bread pudding. Explore creative ways to reduce waste and repurpose bread by reading this study on bread sustainability.


1 thought on “Soft Sourdough Sandwich Bread Recipe: 7 Steps to Perfect Bread Every Time”